Pages

Tuesday, April 30, 2013

Updating Dollar Store Frames

It is no big secret that I am cheap and I love to find ways to make things look high end. Truthfully, I think we all have an inner-cheapness! ;)  I don't know about anybody else but don't you find the prices of picture frames ridiculous? I thought today I would share some quick and easy tips on how to update dollar store frames. 


One of the cheapest places I have found picture frames with mats is our local dollar store. I can usually find an 11" x 17" black frame with a mat for $6.00. 


And if the dollar store doesn't have the color of frame you want but the shape is right go ahead and buy the frame. You can always update it with some spray paint! I updated this picture frame for my daughter's room with some white spray paint for the frame and aqua spray paint for the mat. I love the punch of color the mat has.  


I saw this idea from Courtney who blogs at A Thoughtful Place. Have you seen the book plates from Martha Stewart office supplies by Avery at Staples. They are the perfect size for picture frames. If you want to personalize it you can create a text box in any word processing program and type in the place and year or however you want to remember the picture. 


 I have three picture frames above my board and batten wall that I painted white and added the book plates to. It is such an easy update and I love the personalized touch it adds. 


Here are some ideas that I found on other blogs that I want to try.  
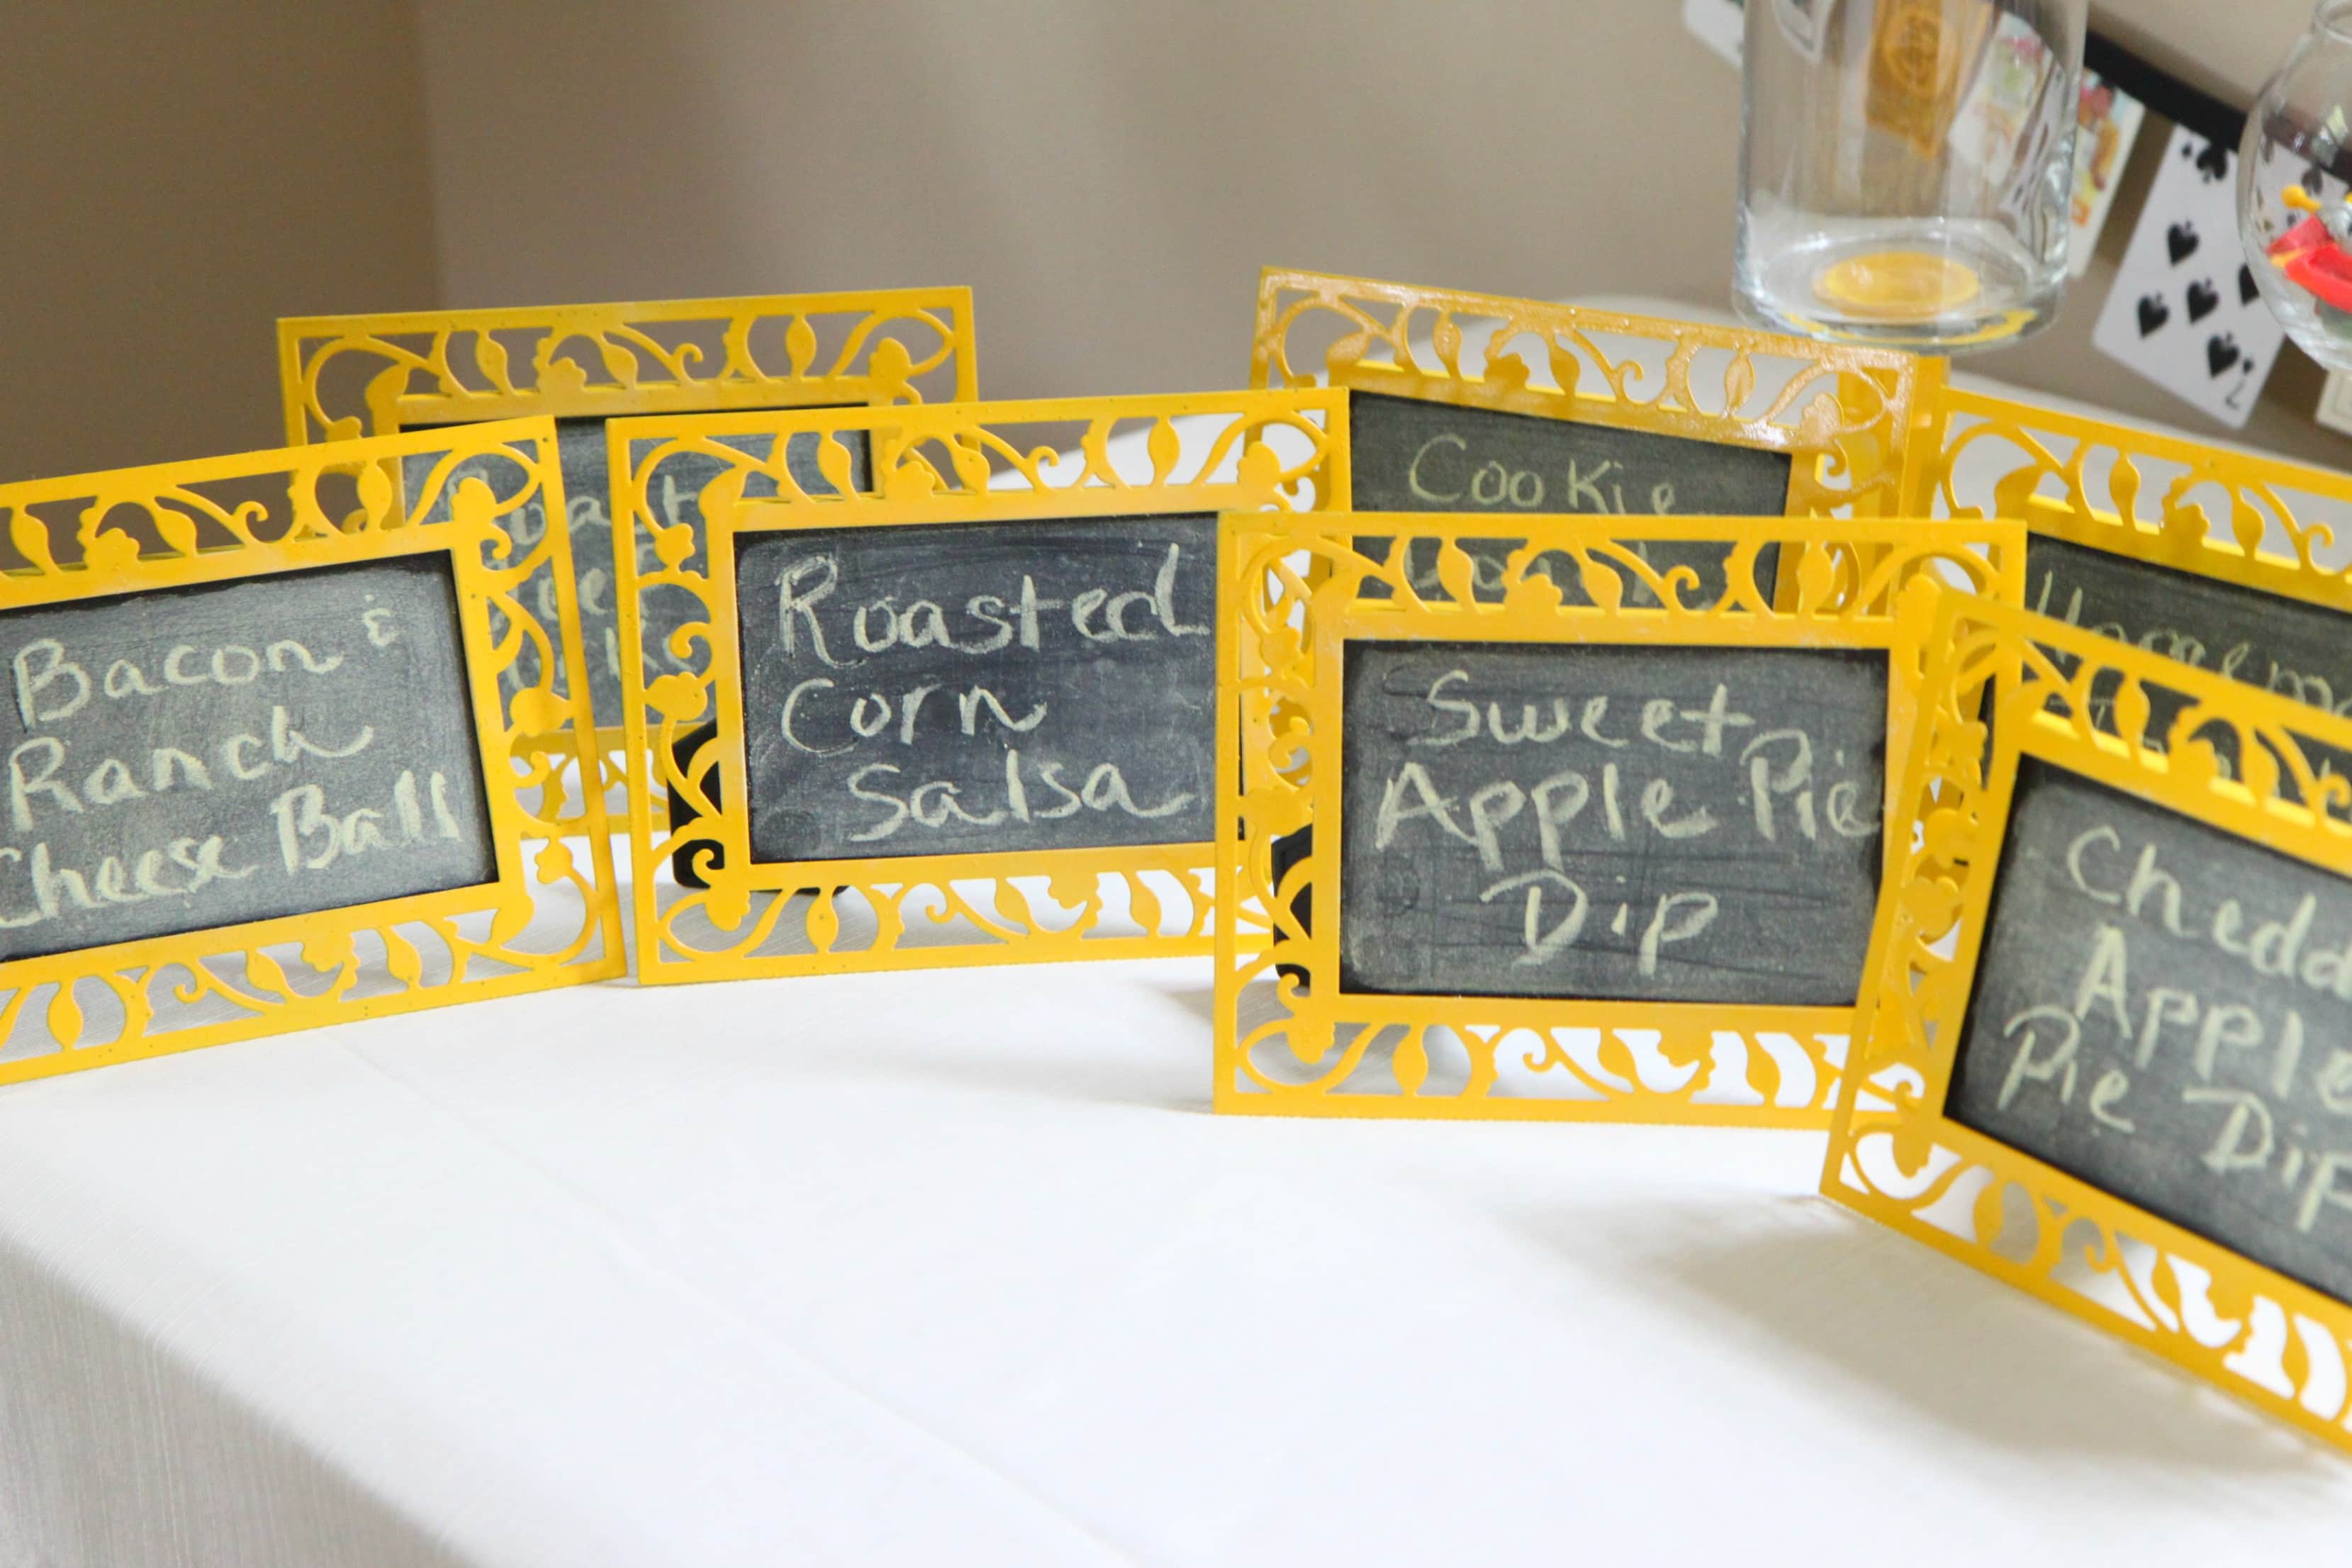
Mom Advice made these dollar store chalkboards!  Aren't they super cute? I think they would be great for a wedding or birthday party.


april 2012 040 1


Melissa from 320 Sycamore blog bought these frames from the dollar store and made her own mats from poster board.


This idea from A Diamond in the Stuff is just so clever. She updated her frames with a little spray paint, added some magnets and put them on the fridge. 

I hope you have found a little inspiration today and can save a little money the next time you go buy picture frames. :) 


I am linking to:

DIY Showoff
DIY Show Off

:
By Stephanie Lynn
Suburbsmama

Friday, April 26, 2013

Ramsign Enamel Signs Giveaway


I am so excited to announce that Ramsign Classic Enamel Signs is offering one of my readers a chance to win one of their beautiful enamel signs!


Aren't these numbers gorgeous?


I think these numbers would also look great on a gallery wall!


Or maybe choose a number that represents an important date in your life or add a little charm to your house!


The lucky winner for this unique sign could be you!


Here are the details:

The winner can choose any house number sign with 1-5 digits (not name signs or address plaques) in any of the 5 Ramsign design styles. I will randomly pick a winner using a random number generator. The giveaway is open for all of my readers world-wide. I will run this giveaway starting today and will end next Friday (May 3rd, 2013 - 12:00 AM/EST)
 
How do you win? Please visit Ramsign Classic Enamel Signs and be sure to visit their Facebook page and leave a comment on this post and tell me what sign is your favorite. Also, please be sure to leave your name and an e-mail address. I would love it if you would follow me on Pinterest, Facebook, Bloglovin or Instagram! You can find the links for my Pinterest boards, Facebook page, Bloglovin or Instagram in the right side bar at the beginning of my blog. BONUS: For an extra entry please tell me what project is your favorite from Keep Calm and Decorate. :)
 

A FEW RULES: No purchase necessary. This giveaway is in not affiliated, administered or endorsed by Facebook. The winner will be notified by email on 5/4/13 and will need to respond within 48 hours to claim their enamel sign or another winner will be chosen. Winner must be 18 years of age or older to win


Good luck and have a great weekend!

Wednesday, April 24, 2013

Board and Batten Reveal

I am so proud to finally show off my living room wall. We started the project last year and finally got the last coat of paint on the walls last month. We always seem to be working on a couple projects at a time. Does anybody else take on two or three projects at once?  I have really been trying to be more diligent about getting current projects done before starting new ones. I blame my short attention span on Pinterest.

I am really trying to add a cottagey (is that even a word?) charm to our home and trying to make it feel less builder grade.


We found several tutorials on how to do board and batten. I really liked the look that Emily from Decor Chick used in her living room.


My living room is set up a little funny, it is really long and narrow and it's hard to get furniture to look right. I think the board and batten wall makes the living room look a little wider.


We painted the wall (above the board and batten) Antique Silver by Glidden and the board and batten was painted white using Ace Wall and Trim paint.


Here is what we used to create the board and batten look. 

Board: 1/4" Birch plywood - 4' x 8' sheets (we chose the plywood to create a smooth texture). You can also just paint the wall white and add the batten. 
Batten: 1/2" MDF - 4' x 8' sheets 
Ledge: pine trim 1" x 2"
Trim under Ledge: cove moulding 3/4"

We cut the birch plywood down to fit the wall, primed the board and used liquid nails to attach the board to the wall. Next we cut the MDF, primed and painted and nailed it to the wall using a nail gun. We then added the pine trim and the cove moulding under the ledge. To finish off the look we used paintable caulk and nail filler to cover up any nail holes and gave the wall a few more coats of white paint.


Ok, now here is the big moment the true reason why you had never seen this wall before now. The ugly BEFORE and I mean this is like, "Hello 2005... Maroon paint what were you thinking?" I lived with this ugly wall for seven years. I have pictures of me with my little girl as a newborn in front of this ugly wall. I remember when I painted this wall and I just loved the dark color. YIKES!


It's an amazing before and after in my opinion. I love the board and batten! Actually, I want to add it to every wall in the house. I can see my husband rolling his eyes now! It just makes such a huge impact on a room. This space now has a cozy feel to it and it's hard not to just sit and stare at this wall all day. :)


I am linking to:
House of Hepworths
Tatertots and Jello
DIY Showoff
Coastal Charm
Savvy Southern Style
Under the Table and Dreaming
Home Stories A to Z
Thrifty Decor Chick
Beneath My Heart
Serenity Now


Tuesday, April 23, 2013

What I Wore Wednesday

Hello, thank you for stopping by! I am apologize that it has been a week since my last blog post. Wow, where did this week go? We have been so busy with family gatherings and DIY projects. My daughter has a birthday one month from today, so we have also been preparing for her big day. I always try to make my own invitations, it's a lot of work but I like to know that they were made with love. I am just going to do a quick post of what I wore this week. I have a big project reveal and a giveaway coming up later this week so please stay tuned. 


Ok, here is what I wore this past week.


Gray Cardigan: Old Navy
Purple Ruffle Shirt: Old Navy
Seven for All Mankind Jeans: Goodwill ($3.50 for boutique jeans....score!)


Shoes: Target

I hope you are having a great week!

I am linking to: 


Tuesday, April 16, 2013

Mason Jar Solar Lights

Don't you just love all of the things you can do with a Mason jar? My favorite is the old aqua jars with the zinc lids. They look so pretty sitting in a window sill with the sunlight coming through them.  Did you know that first Mason jar was invented in 1858? I am also amazed at the popularity of the Mason jar, if you get on Pinterest or most home decorating/craft blogs you are more than likely to see an image of a Mason jar. 

Well, I have been wanting to make Mason jar solar lights since I saw them in a catalog three years ago. I can't remember where I saw them first but they were around $40 for the solar light lid and jar. I am a very thrifty girl and $40 was just a little too much money for me to spend on a pretty Mason jar. Last week while I was at the Dollar Tree I spotted  some solar lights. I knew for a $1.00 each that this was a sign for me to make my Mason jar light. I have seriously been swooning over for these lights for the past three years. Here is a tutorial for all of those that might have been swooning over them too.


SUPPLIES

Mason Jars
Dollar Tree Solar Lights (Or any solar light)
Duct Tape
Lids for the Jars
Spray Paint (Optional)
Painter's Tape (If you decide to spray paint)


TUTORIAL


First Step: Screw off the top of the light 


Prep your lids and the lights for spray paint. I used Duct Brand clean release painter's tape to cover the solar panels on the lights. 


Spray paint the lids and lights. I used a few light coats of Krylon's flat black spray paint.


Since, the lights are smaller than what the size of the hole is for the jar I needed a way to keep the light in place. I though duct tape would work well and it's weather proof. I cut the duct tape into 7 inch strips and folded the duct tape in half to make it double sided. 


I then wrapped the tape around the light after the spray paint had dried. Note: You don't want to put too much tape around the very top because it will stick out when you put the lid on.


I then placed the light inside of the jar. I wouldn't put too much pressure on getting the lid in. I just kind of pushed it in until it felt snug, adding the lid will make it even more secure. 


 Can't see the duct tape can you? 


Aww, my three year obsession is now over! It's still a little cold here to sit on the patio, but in another month or so I am sure I will be outside enjoying my new lights. 


I am linking to:


Thursday, April 11, 2013

What I Wore Wednesday!

Sorry, this post is a little late getting up this week! By the way, where has this week gone? It seems like it was just Sunday. I don't really have an exciting outfit to share this week. I am pretty proud of myself for mixing polka dots and stripes. I would have never done that in the past, I am such a risk taker. Haha!!!

Here is what I wore this week!


Cardigan: Old Navy
Polka Dot Tank Top: Old Navy
Jeans: Silver (carsons)


 Shoes: Payless 

I am linking to: