
Wednesday, May 8, 2013
What I Wore Wednesday!
Hello everybody, welcome back to another edition of What I Wore Wednesday! Things have been a little crazy around here lately. We are trying to get our outside work done before my little girl's birthday party in a few weeks. We have so many projects going on right now that I can't even begin to tell you what we have been doing.


Tuesday, May 7, 2013
Mother's Day Picture Frame
I can't believe Mother's Day is this coming weekend! This month is already flying by! I have been so busy with our outdoor clean up that I almost completely forgot. This year I wanted to give the mothers in my life something that comes from the heart. I had seen these flower pot picture frames around Pinterest a few years ago and decided to make them for my mom and mother-in-law using the grandchildrens' pictures.

I found these itty bitty terracotta pots at the Dollar Tree about a month ago. I had no clue what I was going to do with them. I tend to buy things because they are cute and cheap. I am glad I did buy them because they were perfect for this project!


Once the flower has been cut out you can trace your picture to fit the flower frame. You will need to leave a little extra of the picture so you can glue it to the flower. If it's cut exactly to the size of the flower you won't be able to attach the picture to anything.


Once you have you that all done you can decorate the terracotta plant however you want. I used a little Kraft paper and some ribbon for mine.

I think these would also be cute for a wedding shower, you can use the groom and bride's engagement picture. Or maybe for a party you can use them at table cards. The possibilities are endless. I hope the moms in my life like it!







I found these itty bitty terracotta pots at the Dollar Tree about a month ago. I had no clue what I was going to do with them. I tend to buy things because they are cute and cheap. I am glad I did buy them because they were perfect for this project!

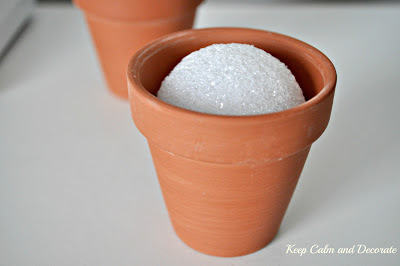
I also had bought these styrofoam 2" balls there for another project that I never got around to. They just happened to fit perfectly in the tiny terracotta pots

I then had these green wooden sticks that somebody was giving away for free at work. I think they might have been used for planters? They were perfect for my project. I just pushed the stick into the styrofoam to create the stem.

I used my Cricut to cut out the flowers for the pictures, you could probably find a flower pattern or use stencils to create a flower if you don't have a die cut machine.


Once you have your picture glue to the flower you can take glue the flower to the stem (stick).

I then used some basket box and bag shred from the Dollar Tree to cover up the styrofoam ball.

Once you have you that all done you can decorate the terracotta plant however you want. I used a little Kraft paper and some ribbon for mine.

I think these would also be cute for a wedding shower, you can use the groom and bride's engagement picture. Or maybe for a party you can use them at table cards. The possibilities are endless. I hope the moms in my life like it!
Do you have any special projects you are working on for the moms in your life?

I am linking to:

Saturday, May 4, 2013
The Winner of The Ramsign Giveaway
Happy Saturday friends, I just wanted to stop in and tell you who won the Ramsign classic enamel sign giveaway. Drum roll please....and the winner is Jane from Blondie's Journal If you don't know Jane already she has the sweetest little blog. Jane said her favorite sign was the Highlander! I think I would have to agree with Jane. Congratulations Jane! Also, thank you to all who participated!

Have a great weekend! I know I will be outside cleaning up our patio and maybe do a little spray painting.
Wednesday, May 1, 2013
What I Wore Wednesday
Hello and welcome back to another edition of WIWW! First of all can I just say WELCOME spring! The weather has been beautiful here. I have been able to open up some windows in my house and let the fresh air in. It makes me so happy!


Here is what I wore this week!


White Cardigan: Old Navy
Orange and White Stripe Ruffled Shirt: Old Navy
Pants: Goodwill

(Close up of the orange and white shirt)

B.O.C. Shoes: Goodwill

Mother of Pearl Bracelet: A gift from my mama
I am linking to:
Tuesday, April 30, 2013
Updating Dollar Store Frames
It is no big secret that I am cheap and I love to find ways to make things look high end. Truthfully, I think we all have an inner-cheapness! ;) I don't know about anybody else but don't you find the prices of picture frames ridiculous? I thought today I would share some quick and easy tips on how to update dollar store frames.

One of the cheapest places I have found picture frames with mats is our local dollar store. I can usually find an 11" x 17" black frame with a mat for $6.00.

And if the dollar store doesn't have the color of frame you want but the shape is right go ahead and buy the frame. You can always update it with some spray paint! I updated this picture frame for my daughter's room with some white spray paint for the frame and aqua spray paint for the mat. I love the punch of color the mat has.

I saw this idea from Courtney who blogs at A Thoughtful Place. Have you seen the book plates from Martha Stewart office supplies by Avery at Staples. They are the perfect size for picture frames. If you want to personalize it you can create a text box in any word processing program and type in the place and year or however you want to remember the picture.


I have three picture frames above my board and batten wall that I painted white and added the book plates to. It is such an easy update and I love the personalized touch it adds.


Here are some ideas that I found on other blogs that I want to try.
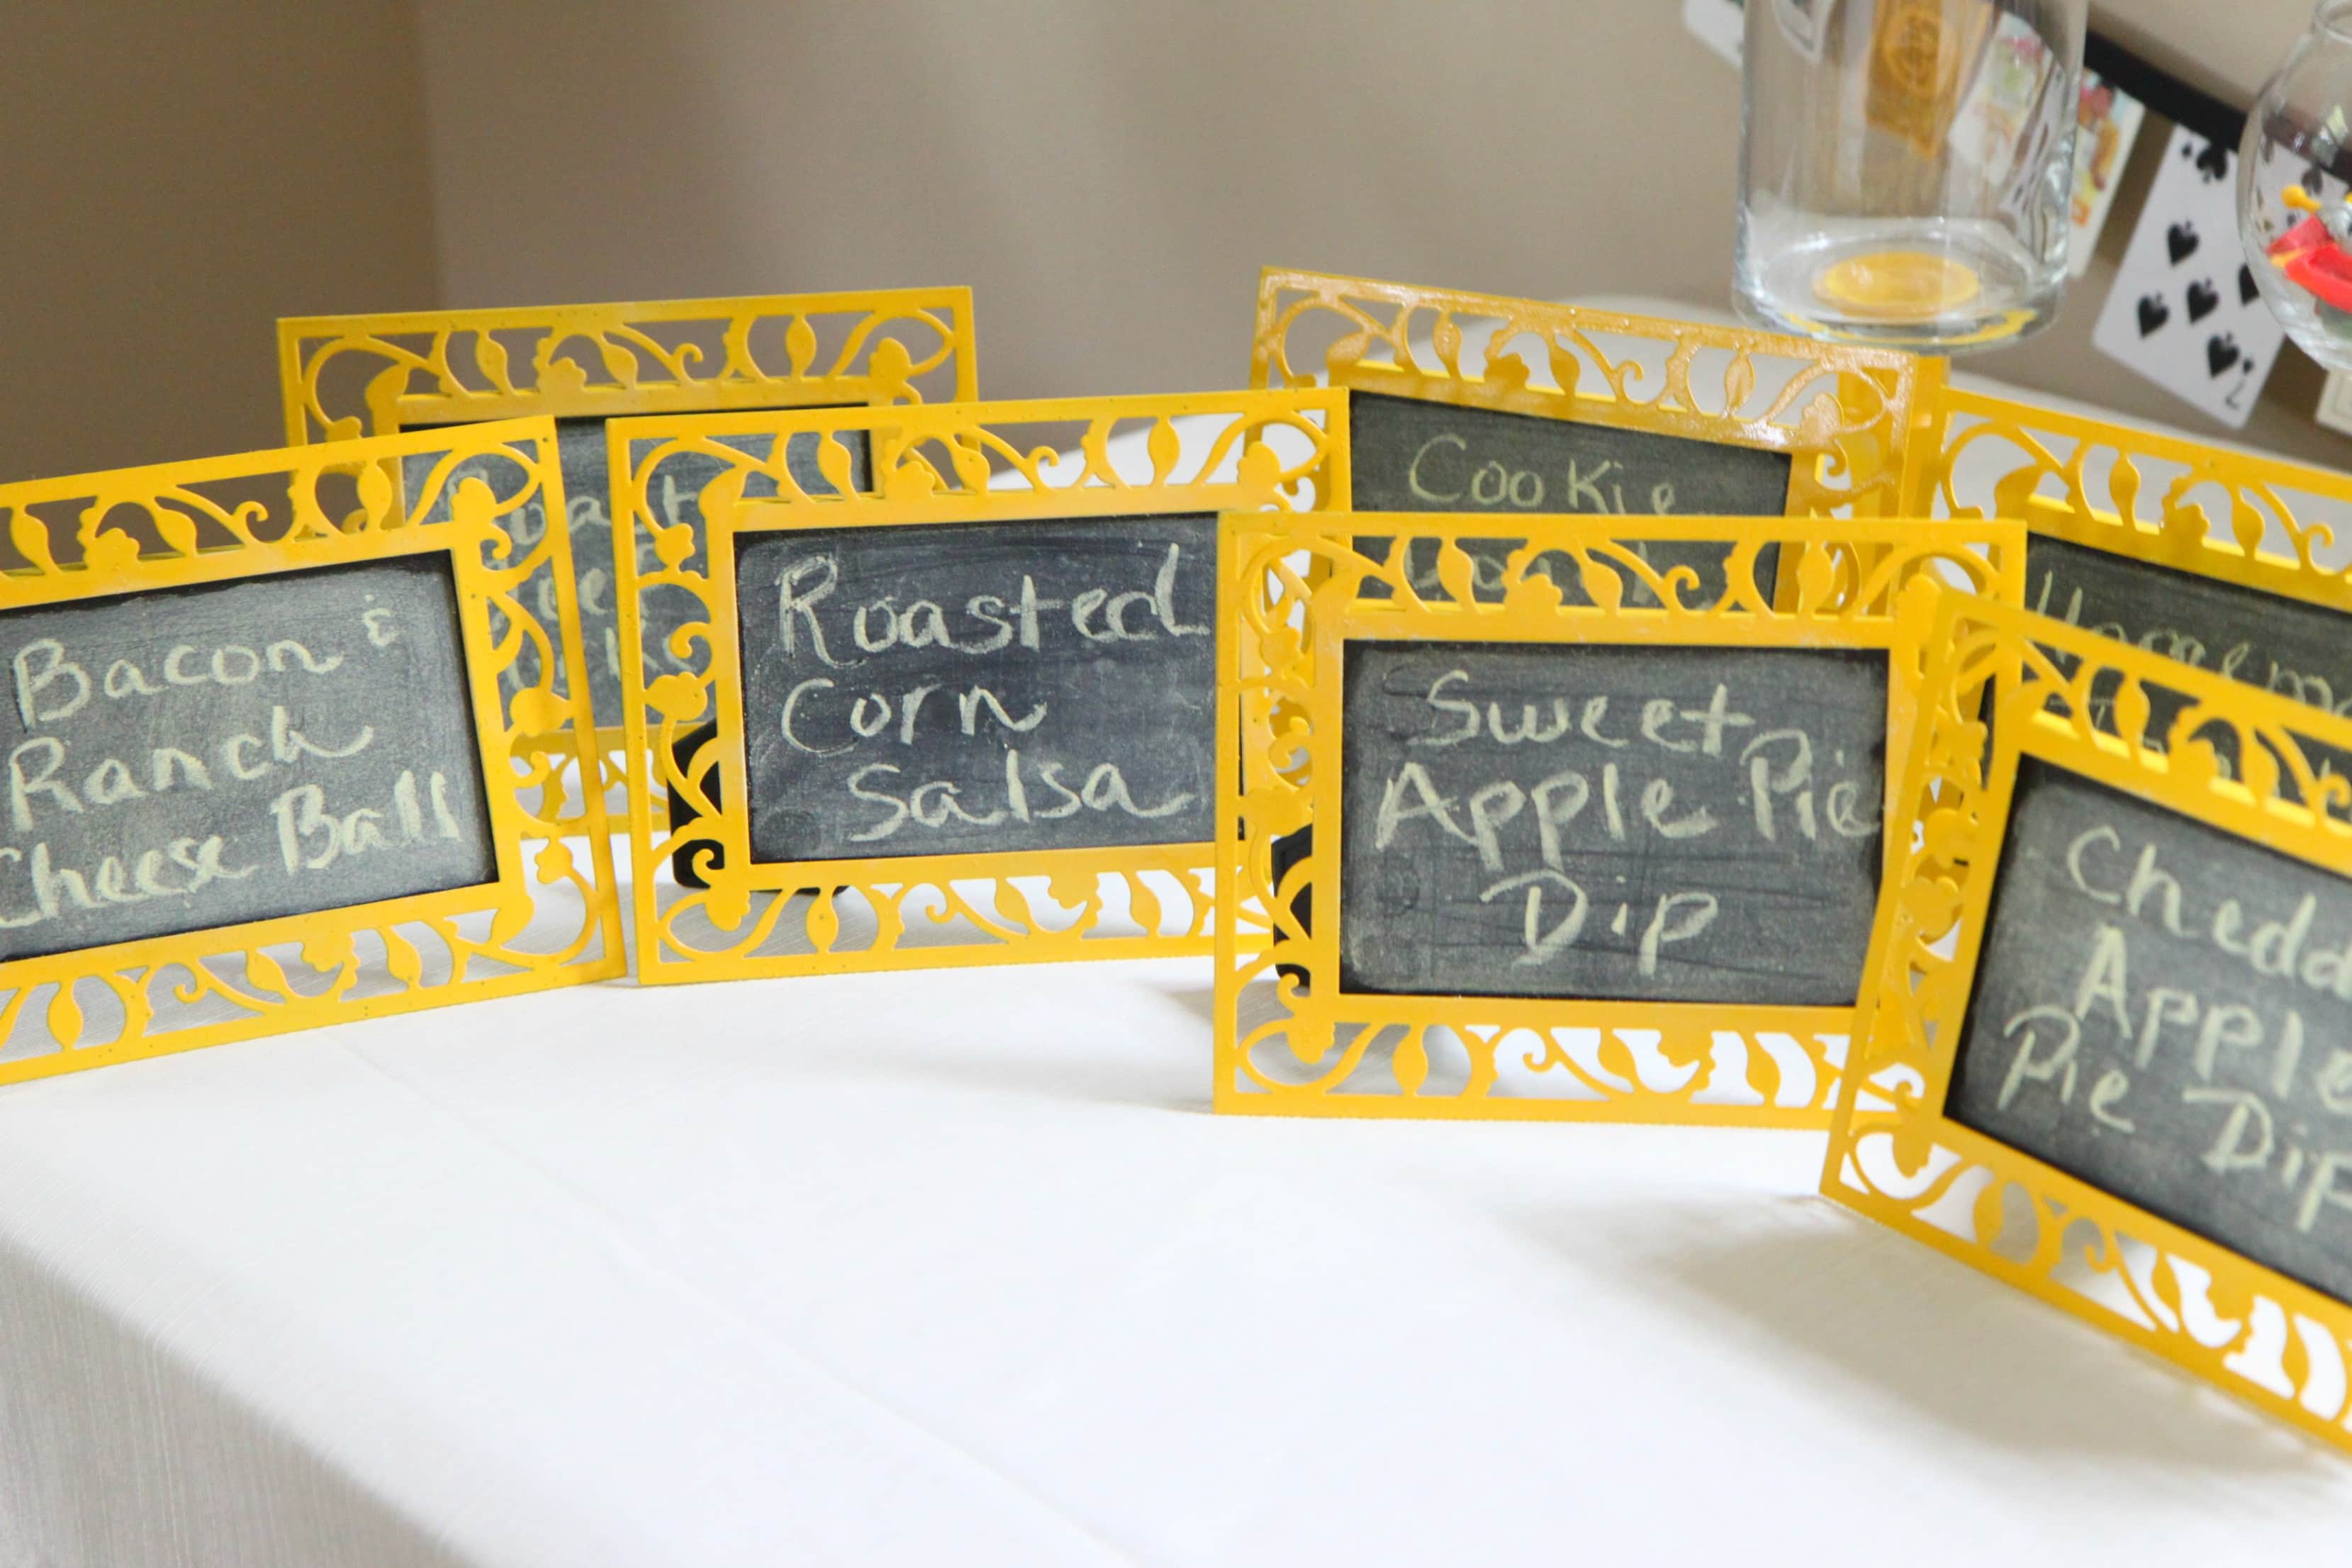
Mom Advice made these dollar store chalkboards! Aren't they super cute? I think they would be great for a wedding or birthday party.

Melissa from 320 Sycamore blog bought these frames from the dollar store and made her own mats from poster board.

This idea from A Diamond in the Stuff is just so clever. She updated her frames with a little spray paint, added some magnets and put them on the fridge.
I hope you have found a little inspiration today and can save a little money the next time you go buy picture frames. :)
DIY Showoff



Friday, April 26, 2013
Ramsign Enamel Signs Giveaway
I am so excited to announce that Ramsign Classic Enamel Signs is offering one of my readers a chance to win one of their beautiful enamel signs!

Aren't these numbers gorgeous?

I think these numbers would also look great on a gallery wall!

Or maybe choose a number that represents an important date in your life or add a little charm to your house!

The lucky winner for this unique sign could be you!

Here are the details:
The
winner can choose any house number sign with 1-5 digits (not name signs
or address plaques) in any of the 5 Ramsign design styles. I will randomly pick a winner using a random number generator. The
giveaway is open for all of my readers world-wide. I will run this giveaway starting today and will end next Friday (May 3rd, 2013 - 12:00 AM/EST)
How do you win? Please visit Ramsign Classic Enamel Signs and be sure to visit their Facebook page and leave a comment on this post and tell me what sign is your favorite. Also, please be sure to leave your name and an e-mail address. I would love it if you would follow me on Pinterest, Facebook, Bloglovin or Instagram! You can find the links for my Pinterest boards, Facebook page, Bloglovin or Instagram in the right side bar at the beginning of my blog. BONUS: For an extra entry please tell me what project is your favorite from Keep Calm and Decorate. :)
A FEW RULES: No purchase necessary. This giveaway is in not affiliated, administered or endorsed by Facebook. The winner will be notified by email on 5/4/13 and will need to respond within 48 hours to claim their enamel sign or another winner will be chosen. Winner must be 18 years of age or older to win
Good luck and have a great weekend!
Subscribe to:
Posts (Atom)